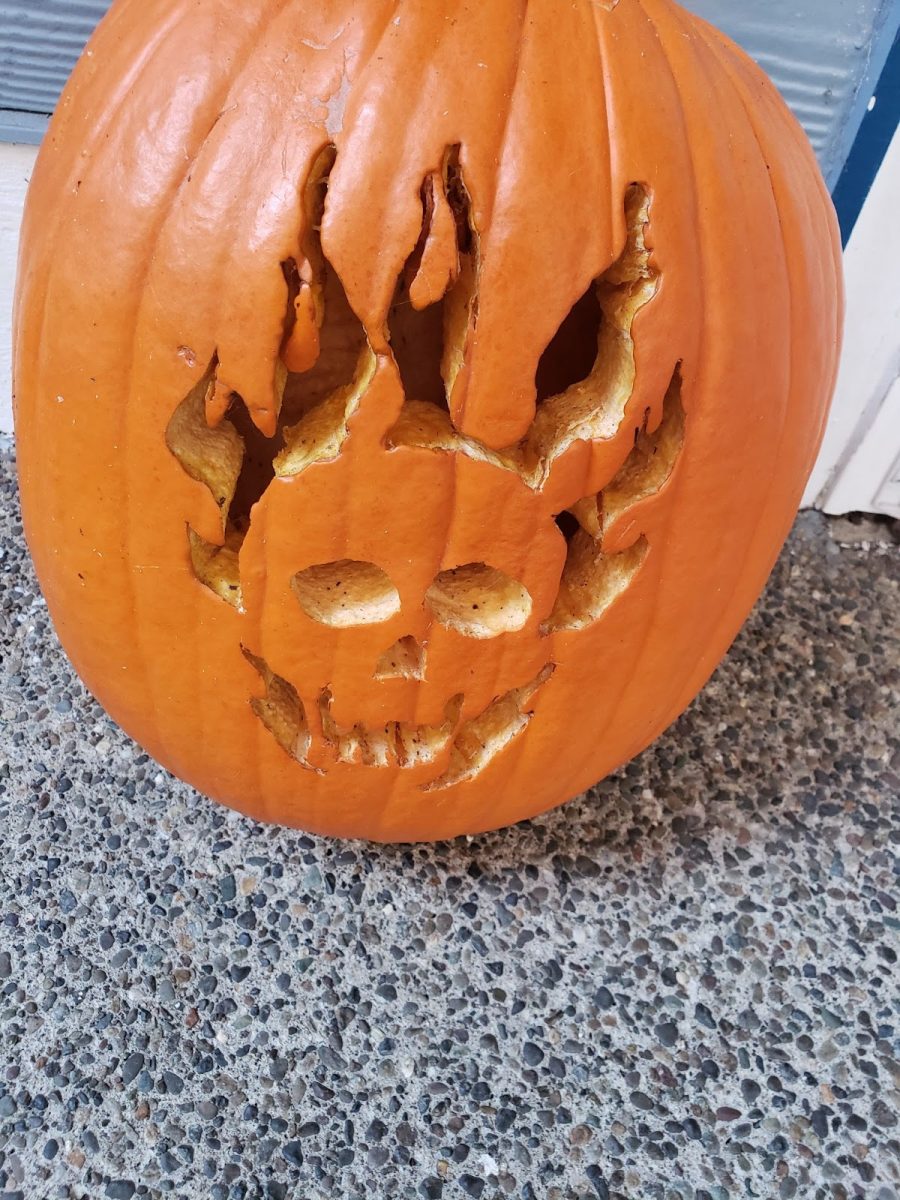
The flaming skull is a simple yet elaborate design. Using the method above, you can recreate this spooky, blazing work of art on your next Halloween!
Carving pumpkins can be both a fun and tricky process. Picking and drawing your design can be challenging but carving it is an enjoyable and rewarding experience. Here’s a simple way to carve your next pumpkin. You can even try your hand at the design below!
Start by gathering these materials first. You’ll need them to carve your Jack-O-Lantern!
- Pumpkin
- Butcher knife
- A large spoon or scoop
- A small spoon or scoop
- Paper
- Permanent marker
- Tape
- A drill
- A cutting saw
- A detail saw
- Choose the pumpkin you want to carve. If you want to do a narrower design, pick a taller pumpkin. If you want to do a wider design, go with a shorter one.
- Using a butcher knife, cut a “lid” out of the top of the pumpkin. To do this, cut in a zigzag motion around the stem, then pull it out of the pumpkin. Remove any guts and seeds on the underside of the lid with the butcher knife.
- Use a large spoon or scoop to scrape the guts and seeds out of the pumpkin. Then, using a smaller spoon or scoop, scrape down the inside of the pumpkin where you’ll be carving your design.
- Draw your design on a piece of paper and tape it to the pumpkin on the side that you’ll be carving on. Make sure that it’s as flat and smooth as possible. You can also use a print out if you don’t want to draw your own.
- Using a drill (a small pointed tool for poking holes), poke holes into the pumpkin on the outline of your design.
- Use a permanent marker to draw a line through the holes you poked. Now your design is drawn on the pumpkin and you’re finally ready to carve it out.
- Last but certainly not least, use a cutting saw and a detail saw to carve out your design. Cut along the outline of your design and clean off any marker or residue.
Now your pumpkin is finished and ready to be displayed! Put a candle inside your Jack-O-Lantern, light it up, and you’re on your way to having a great Halloween!